Smoothing the walls is to prepare the surface for painting or wallpapering. This is an important stage in the finishing process that requires precision and technical knowledge. Irregularities, burrs and other imperfections can negatively affect the aesthetics of the entire room and reduce its value. Therefore, the proper execution of this work is not only a matter of aesthetics, but also functionality. Read what can be useful for you while smoothing and what are the advantages of using PRO products.
START BY ALIGNING THE WALLS
First, you need to assess the quality of the surface you are going to work with. If it's curved or has an uneven structure, we should start by leveling out these inaccuracies, which is the equation.
A scraper float and a scraper will certainly help in cleaning walls or ceilings from old paint coatings. The paint scraper available in the PRO offer is a revolutionary tool compared to others that we can get on the market. It has replaceable blades with a width of 18 mm, which probably every worker always has with him. For hard-to-remove coatings, you can beat it and thus quickly get the desired result.
Next, the surface must be primed, i.e. coated with an agent intended for this purpose (e.g. deep penetrating primer). Priming before the plaster is intended to bind old and flaking coatings and create a surface that will evenly receive and release water, i.e. equalize absorptivity. Skipping this step is quite risky, because this preparation stabilizes the substrate, which allows even drying of subsequent layers. Only on the surface prepared in this way, putty masses are applied.
Tip!
You need putties, which include gypsum putty and finishing plasters - it's worth knowing how they differ from each other.
With the help of gypsum putty, we will fill in larger cavities in the wall and level its surface. This material will also cope well with the derivation of angles and allows for large adjustments, is extremely durable and perfectly adheres to the plane. Finish, in turn, is a type of putty that is used at the last stage of wall preparation. It is a highly flexible product that is great for sanding, which in turn gives the effect of a perfectly smooth surface on a pre-prepared wall.
SMOOTHING WALLS STEP BY STEP
Before you start smoothing the walls, it is worth getting good quality materials and tools. Only the use of those proven by professionals will ensure a satisfactory effect.
step 1. Mixing the material
The purchased putty must be thoroughly mixed to obtain the desired consistency and eliminate lumps. Gypsum putty must not flow down from walls or ceilings and should be easy to spread. To obtain such an effect, a stirrer, e.g. model BX-05, must be adapted to the prepared material, which creates movement in the horizontal plane and prevents aeration of the material. This is important because such mixing minimizes the risk of air bubbles during the application of the material.
step 2. Applying plaster - that is, leveling the walls
Using a trowel, you take the mixed material from the bucket onto the trowel and apply it to the surface. The wider the trowel, the better you will level the wall. A plaster float, e.g. the one with a metal top, will work well in this situation. It is important that it is made of stainless steel, which guarantees that the tool will not leave rust spots on the wall after contact with the damp material. In addition, such a trowel is easier to keep clean. The mass should be distributed very carefully, not allowing any bulges to remain.
Tip!
What plastering trowel for putty? When choosing a plastering trowel, it is worth paying attention to the fact that the working part is made of stainless steel, because it will not corrode when working with chemical agents. Another important feature is the handle of the plastering trowel. PRO's offer includes trowels with two-component handles (plastic covered with rubber), which hold firmly in the hand and do not slip.
Plastering trowels with a handle made of wood are also available - they are certainly lighter and easier to clean. The PRO-PC100 model offers excellent value for money. You can use it to apply not only gypsum plaster, but also mortars and adhesives.
Step 3. Smoothing
After the gypsum dries and any bumps in the corners or joints are removed (e.g. using a spatula), the surface is ready for plaster application. Traditional plasters, mixed from a bag, as well as modern polymer plasters are available on the market. The latter are suitable for applying a much thinner layer (even with a roller), they do not dry out in the bucket, so they can be used several times after opening. When applying this type of plaster with an aggregate or roller, an orange peel effect is created. And it is at this stage that it will be necessary to use a plaster putty with thin blades. Noteworthy are putty knives with replaceable blades, the shape of which allows you to hold the tool with two hands. They are larger, because they can be up to 120 cm wide, which is why they are perfect for smoothing really large surfaces. In high-class products, e.g. those of the PRO brand, an appropriate PVC construction is used, the design of which allows for a high and deep grip, which allows you to hold the tool with your whole hands. Thanks to this, the putty knife with a replaceable blade is light, comfortable to hold and durable.
See pro brand plaster putties
PRO putties have replaceable blades that are much cheaper than buying a new tool. Their replacement is very intuitive - just unscrew the mounting screws and slide out the side protection, and screw the new blade in other places.
How to replace the blade in a putty knife
The big advantage of PRO products is the sharp and rounded corners of the blade. These are the necessary features of this tool, which minimize the risk of scratching the surface and contribute to maximizing the aesthetics of the final effect. The fewer scratches, the less sanding, which translates into faster work done. The thing that undoubtedly distinguishes PRO from other putty manufacturers is the reusable blade protection included in the set.
Tip!
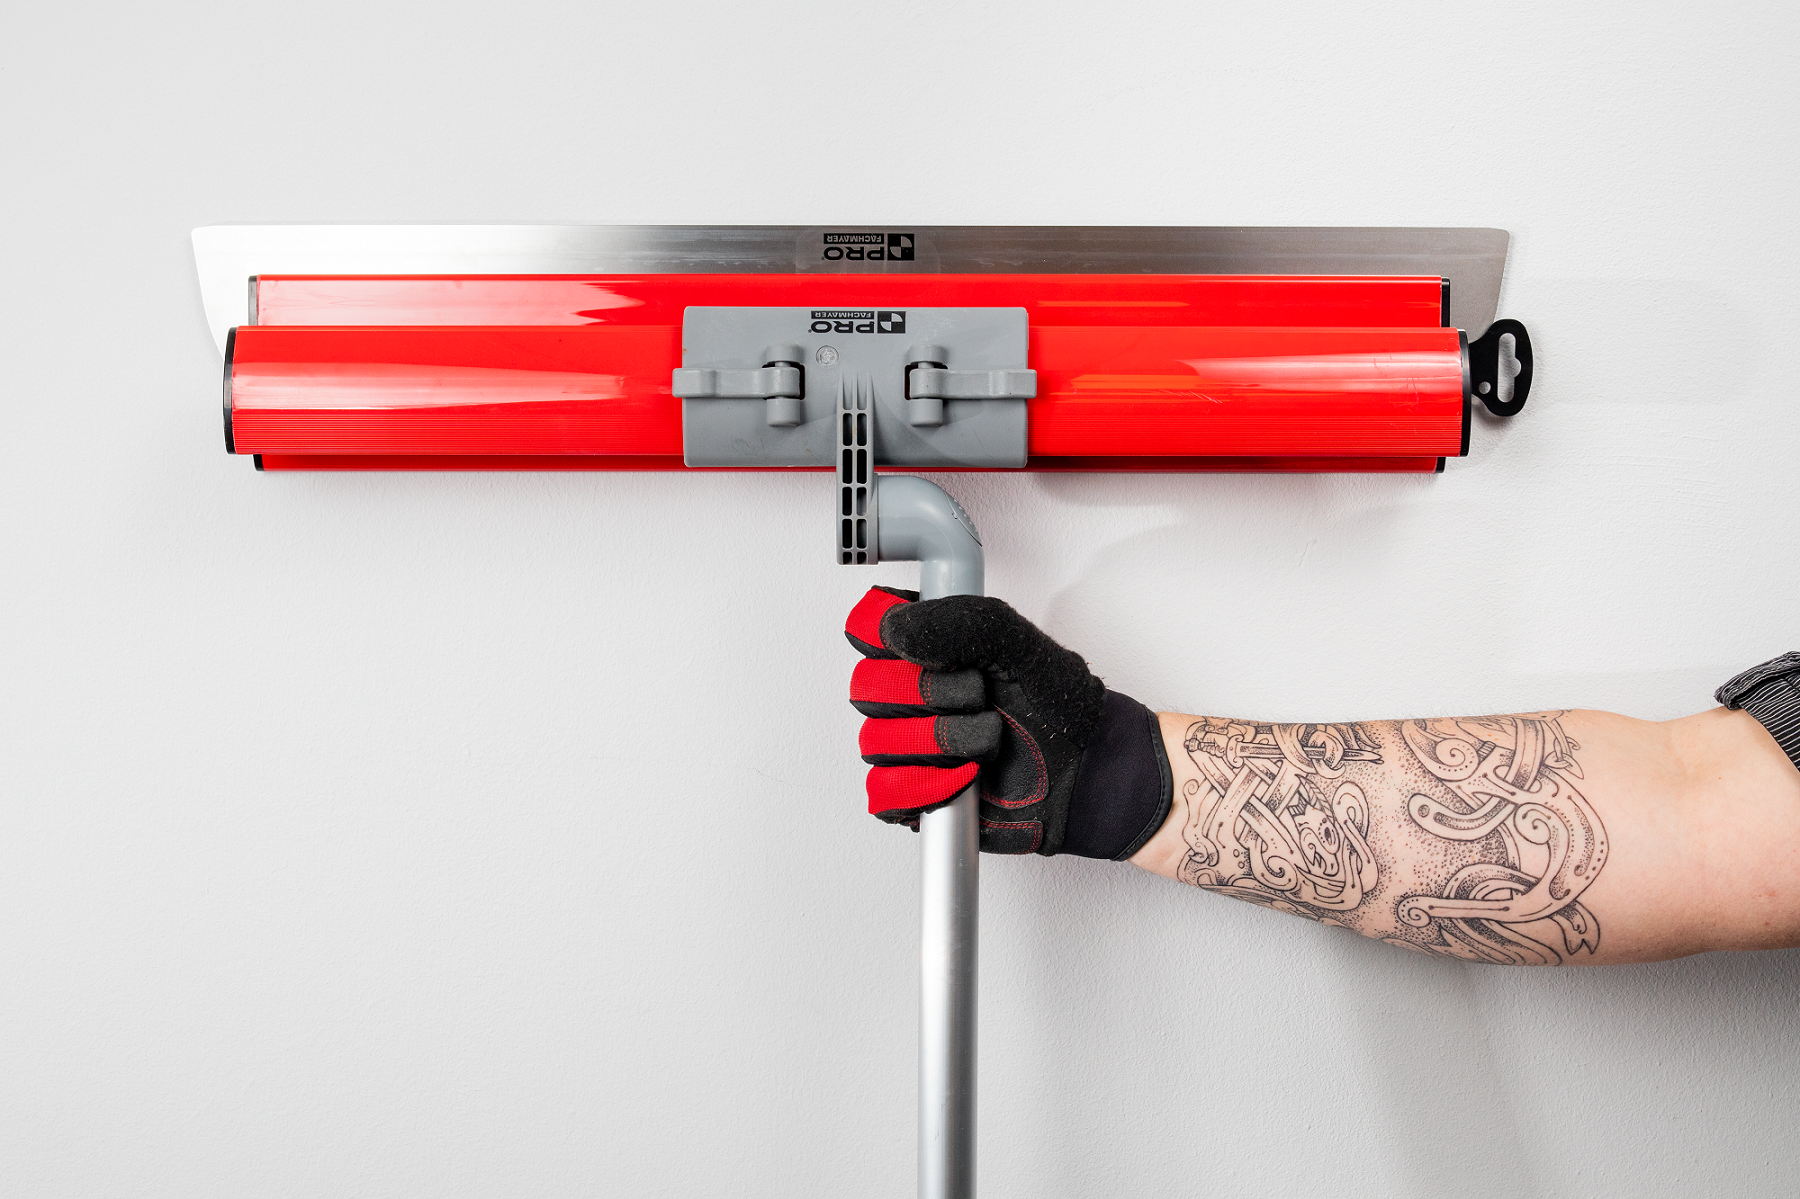
What if you want to smooth a ceiling, a high wall or just a large area? In this situation, be sure to get a telescopic pole, e.g. a two-piece PRO model. The tool made of aluminum alloy is durable and rigid, so it will not bend during operation.
The advantage of the aluminum alloy used is its lightness. So you can work for a long time without feeling tired in your hands. At the end of the telescopic putty stick there is a soft ergonomic grip, so the tool fits perfectly in the hand, even when extended to a maximum length of 2 m.
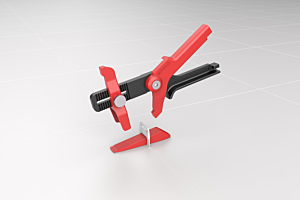
To mount the putty on a telescopic stick, an adapter offered by PRO made of durable construction material will be useful. Provides stable and simple insertion of putty with a blade. Using the stick usually involves the need to set the right working angle, which is why the adapter is equipped with the possibility of quick adjustment.